Get our weekly updates, including high-value tips and free resources that will help you take your design career to the next level.


If you're a new or aspiring web designer, you've likely come across the concept of wireframing. What exactly are wireframes, and why are they important? In a nutshell, wireframing helps organize and structure content for a website in order to optimize the user experience.
Watch the video below for Ran Segall's introduction to wireframing, and then keep reading to learn more about wireframes and how to create them.
Wireframes are simple visuals that web and UX designers create in order to plan the information hierarchy of a website or app. Wireframing helps designers organize the structure and content of a page before starting the visual design process. This step helps ensure that content flows in an intuitive way from page to page.
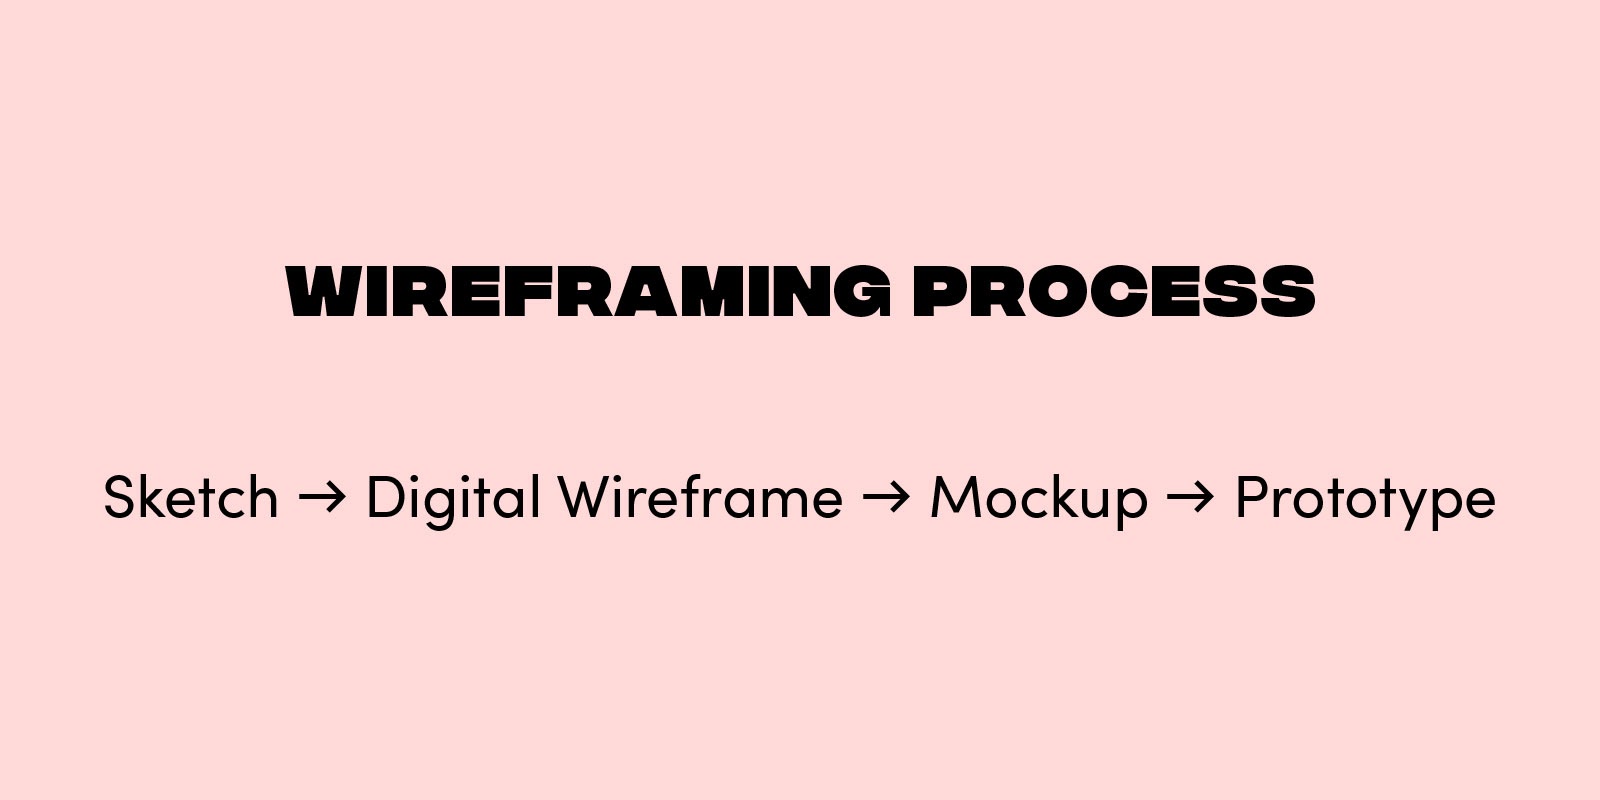
The wireframing process can involve multiple stages. Typically, designers start with a rough sketch on paper, which is then translated into a digital wireframe using wireframing or design software. Finally, the digital wireframe is fleshed out into a high-fidelity prototype. When the prototype is approved, the project is ready to move into the development stage. We'll explore the wireframing process in more detail later on.
🤑 FREE Ebook "Getting started in Web Design" - Download here 👉 https://bit.ly/38lZDNt 🤑
The process of wireframing for a website serves a couple key purposes. For one, it saves time. If you're not currently using wireframes, it might seem counter-intuitive that adding another step to your process would save you time. But in fact, creating wireframes upfront and getting the client's approval can cut down time spent on revisions later on in the process. It's typically faster to revise and iterate on a wireframe than a fully designed mockup or live website.
Another benefit of wireframing is that it helps you create a clear information hierarchy for the website. This is key for creating a good user experience. Wireframes create a logical structure for each page and help designers strategize how the navigation flows between different pages. The process can also uncover any areas of weakness in the content so that they can be remedied before the site is being built out and changes become harder to implement.
If you've heard of wireframes, you've likely also heard of prototypes and mockups. These terms are often used interchangeably, however they have a few important differences.
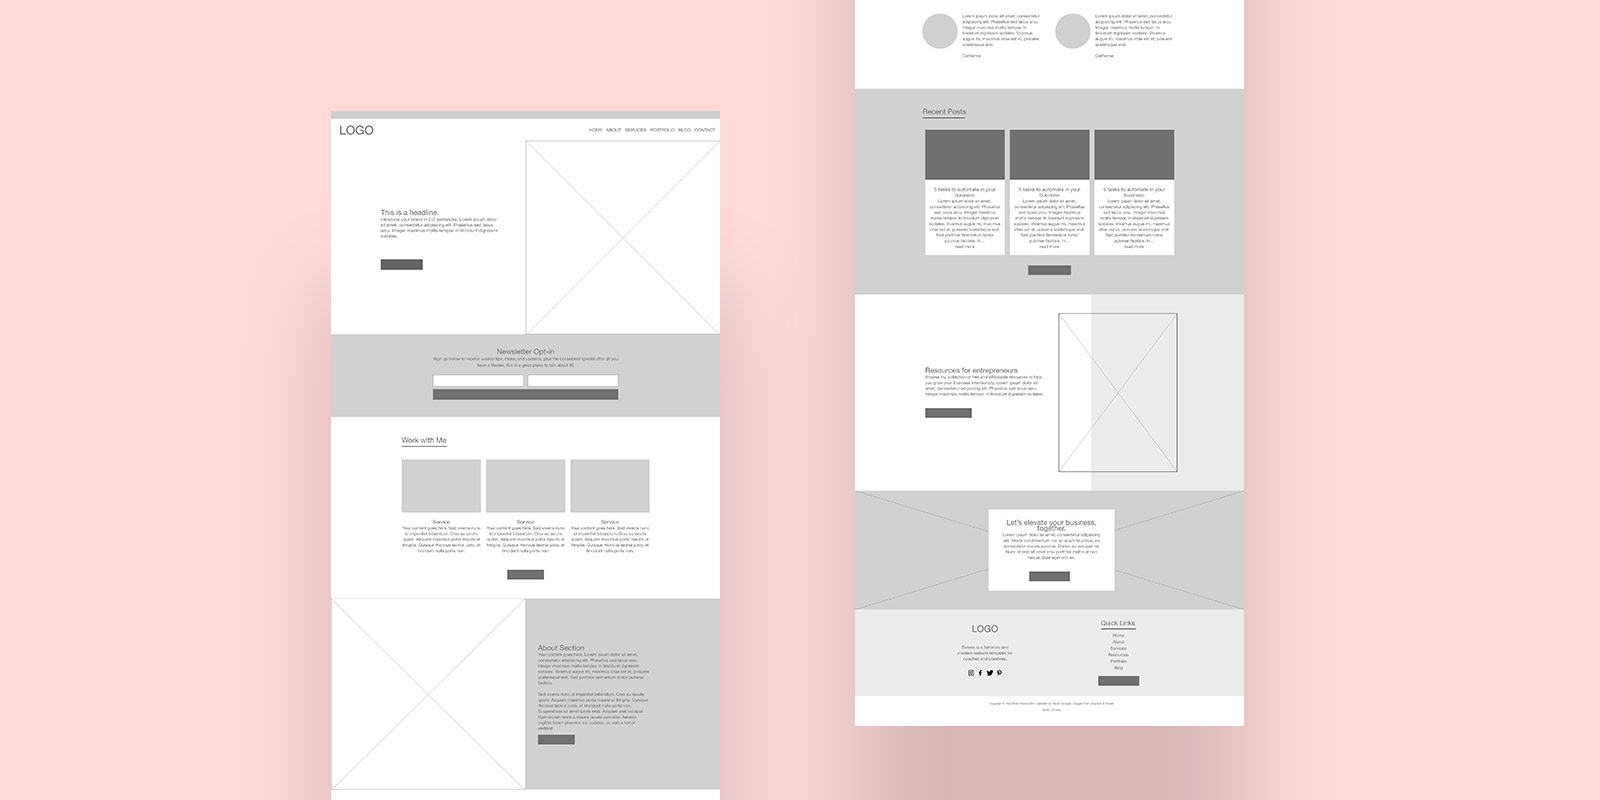
Wireframes are low-fidelity, meaning they're devoid of real copy and visual design elements like color. Wireframes are to websites what blueprints are to buildings. They can contain real headlines to help organize content, but otherwise wireframes mostly consist of boxes and lines.
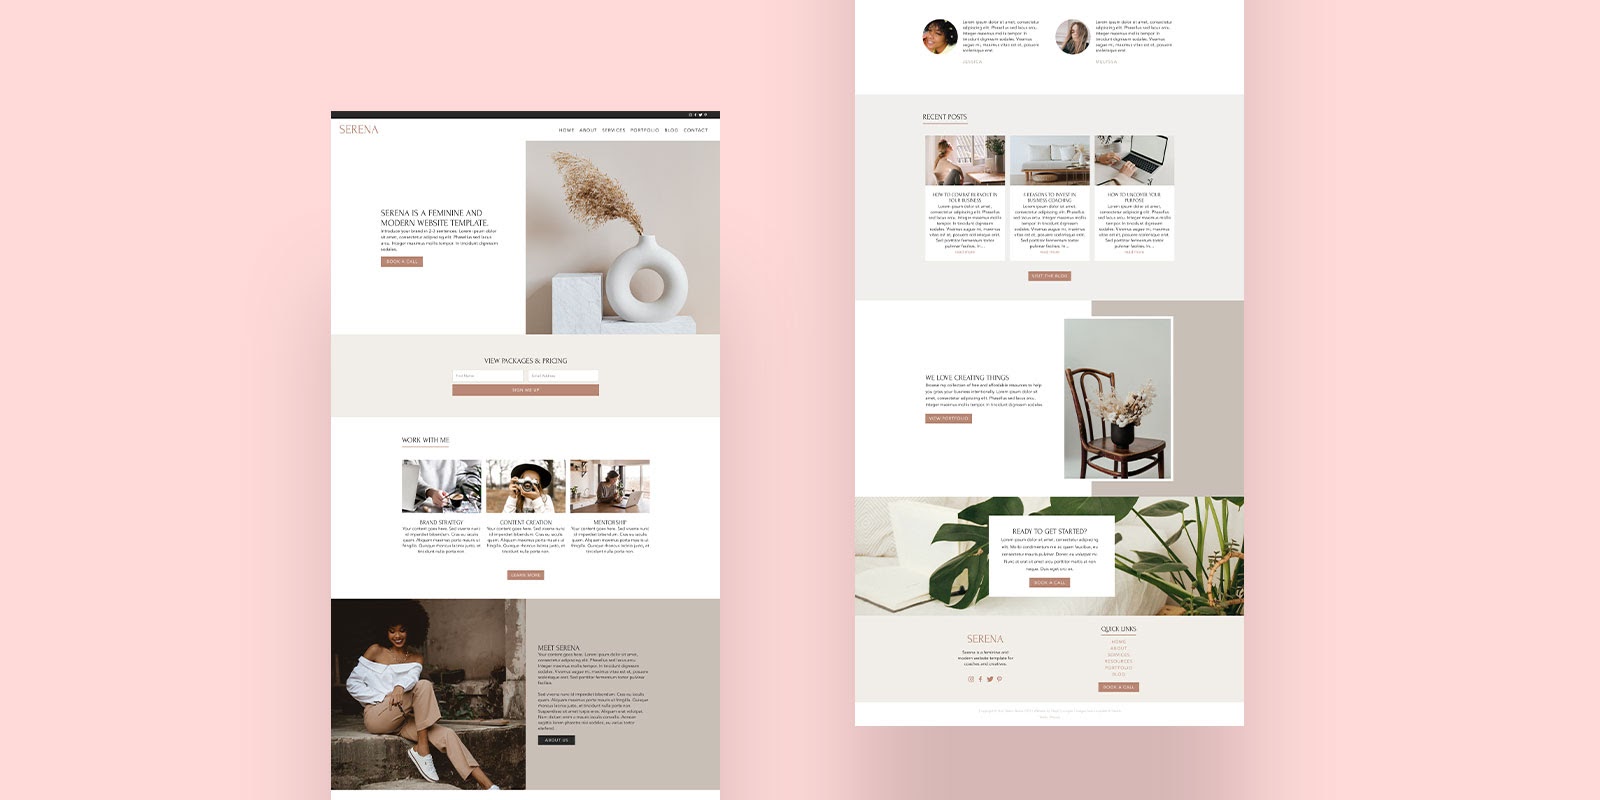
Mockups are essentially high-fidelity wireframes. They include real images and text for the website. They also include colors, fonts, and other visual elements, such as logos. Mockups are static previews of how a website will look and feel once it's live.
Prototypes are interactive wireframes and mockups. They're built using a software that includes functionality for testing out the usability of a website. An example of a prototyping software for web design is Adobe XD. XD allows you to create a live prototype of the website that you can click through to experience the website's functionality before it's built.
To get started with wireframing, the first tools you'll need are readily accessible: pen and paper. But once you move into the digital wireframing step, you'll need to use some kind of software to build and present your wireframes. For this step, you have a number of options.
Certain tools were developed specifically for wireframing. Here, we refer to those tools as dedicated wireframing tools. Below are two popular dedicated tool options for wireframing your website:
Design tools are necessary for creating mockups after the wireframes are complete. However, they're also great for creating the wireframes themselves. Below are three top design tools for wireframing:
Which type of tool is better for wireframing websites: dedicated or design tools? Dedicated tools may have more features and be better for collaboration since they're built specifically for the wireframing process. On the other hand, using design tools for wireframing makes it easier to transition low-fidelity wireframes to high-fidelity mockups and prototypes. In other words, design tools are essentially an all-in-one software solution for web design.
If you're a freelance web designer working on relatively small websites, consider using design tools for both wireframes and prototypes in order to simplify and speed up your process.
Check out the video below to watch Ran Segall create wireframes using Figma.
Now that we've covered what wireframes are and why they're important, let's talk about how to create wireframes. The wireframing process for website design can be broken down into five essential steps.
Before you start working on the wireframes, it's important to first create a sitemap for the website. A sitemap is a simple chart that lays out the page hierarchy of a website. Sitemaps don't require any fancy tools; they can be sketched out on paper, mocked up in your favorite presentation software, or developed using a free online tool like Gloomaps.
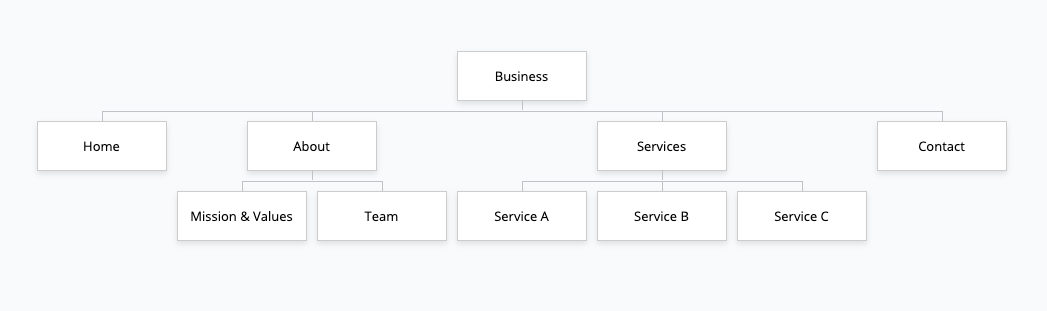
Creating sitemaps first helps you get clear on how the website content will be organized so you can create wireframes that flow logically.
When the sitemap is complete, you're ready to start sketching wireframes. Although it can be tempting to jump straight into your favorite design software to start building wireframes, it's best to start simple with pen and paper.
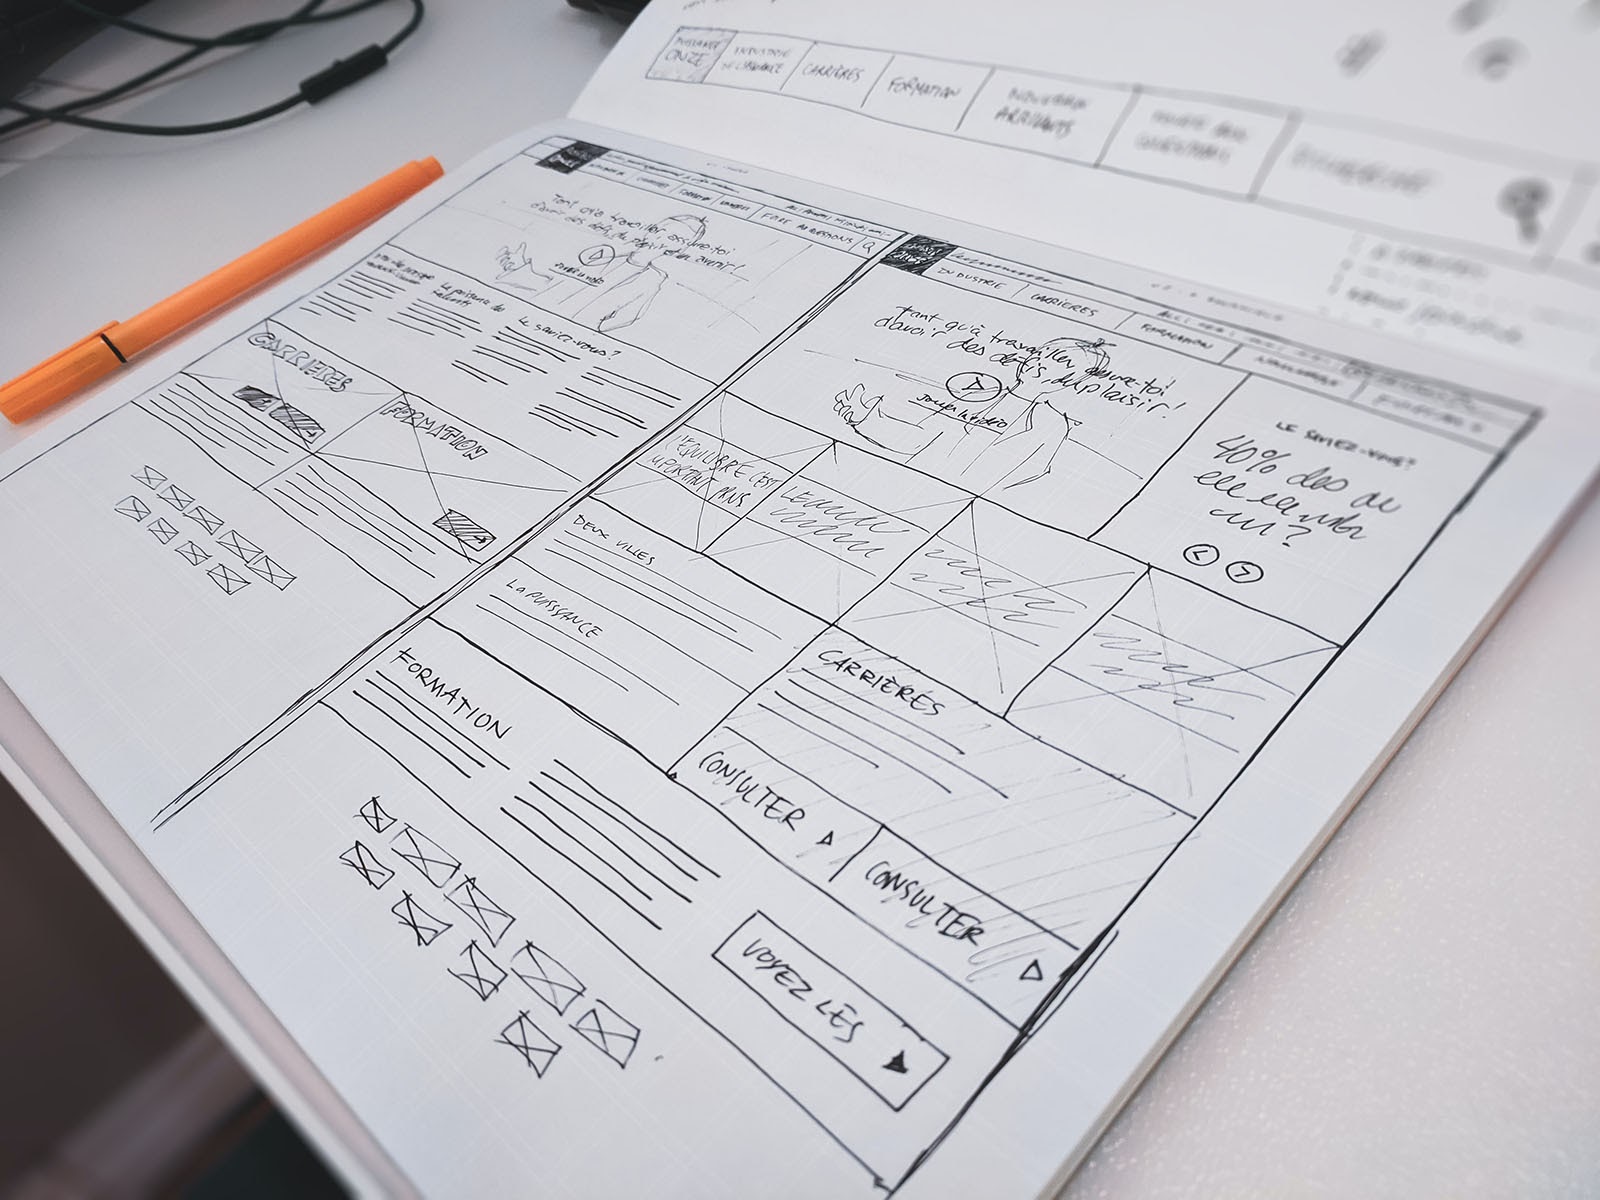
Sketching is much faster than using software; with nothing but pen and paper, you can quickly explore multiple ideas and layouts. When you sketch, you're free to use your creativity to put to paper any ideas that come to mind. In other words, you're not limited by the tools and constraints of design software.
As you're sketching, consider writing in the main headlines from the website content. This'll help you both strategize and visualize how the content will flow, which is an important aspect of wireframing.
Once you've sketched out some wireframes on paper, it's time to re-create them digitally using your software of choice (see the section on wireframing tools above). It doesn't really matter which tool you use so long as you're comfortable using it.
A good practice for creating digital wireframes is to include the actual text for the website, as opposed to filler text. This will help you discern how large different sections should be and which elements need to stand out.
At this stage, we're still creating low-fidelity wireframes. The digital wireframes should not contain any of the brand colors, fonts or images. The reason for keeping them low-fidelity at this stage is to keep the focus on the structure and content when the wireframes are presented to the client. Colors and images are visually stimulating and can distract from the task at hand.
With the first set of digital wireframes complete, it's time to get feedback from the client and iterate. Once clients can actually see how their content flows on the page, they can get clear on which areas might need editing or improvement.
When you present your wireframes, be sure to mention that they are not design mockups and therefore aren't intended to look pretty. Otherwise, clients who are unfamiliar with the web design process might get confused. But by focusing on the UX, not the visuals, in this stage, you can move into the visual design process feeling confident in how the website is structured and the pages are laid out. And with the client's approval, you'll likely need to make fewer revisions down the line.
Once your wireframes have secured the client's approval, it's time to flesh them out into high-fidelity mockups and prototypes. In this stage, you'll implement the brand's colors, fonts, images, and other visuals, using your design tool of choice.
When the mockups are complete, you can create an interactive prototype to share with the client. This way, the client can click through the website to experience it as if it were live. From there, you can continue to iterate and refine the mockups until they're approved and ready for development.
Is it necessary to follow all five of these steps for every website you create? Not necessarily. Some designers go straight from sketch to digital mockup. Some skip the mockups and jump from low-fidelity wireframes to web development.
There are a couple reasons why you might skip one or two steps in the wireframing process. For one, if you’re working with a low-budget client who has simple website needs, taking the project from paper sketches to low-fidelity wireframes to high-fidelity prototypes may be overkill. Then again, it could be good practice for when you start booking larger, more complex projects.
Another reason to skim through the process is if you find that it creates unnecessary friction for you, even after going through it many times. For instance, if you’re using a visual development tool like Webflow, you may find it more efficient to combine the design and development process within Webflow after the low-fidelity wireframes are approved; in other words, you’d skip the mockup and prototyping phase.
At the end of the day, you get to develop your own unique process that works best for you and your clients.
Wireframing is an important skill for website designers to master in order to create user-friendly websites for clients. It can take some time and real-world experience to develop an efficient wireframing process that you feel comfortable with. But once you do, you'll find that the web design process becomes both faster and easier.
As important as wireframing is, it's just one piece of the web design process. How do you figure out what kind of content your client needs? Then, how do you collect that content from the client? How do you align on a visual direction with the client, and then bring that vision to life through colors, fonts, layout, etc? All these questions and more are answered in depth in The $10k Website Process.
The $10k Website Process is a comprehensive course by Ran Segall that helps designers master the strategy and art of high-value web design. With over 12 hours of video content, plus a wealth of bonus templates and resources, the course provides a step-by-step roadmap for designing beautiful, strategic websites.
Click here to learn more about the course and sign up for the waitlist.


Get our weekly updates, including high-value tips and free resources that will help you take your design career to the next level.